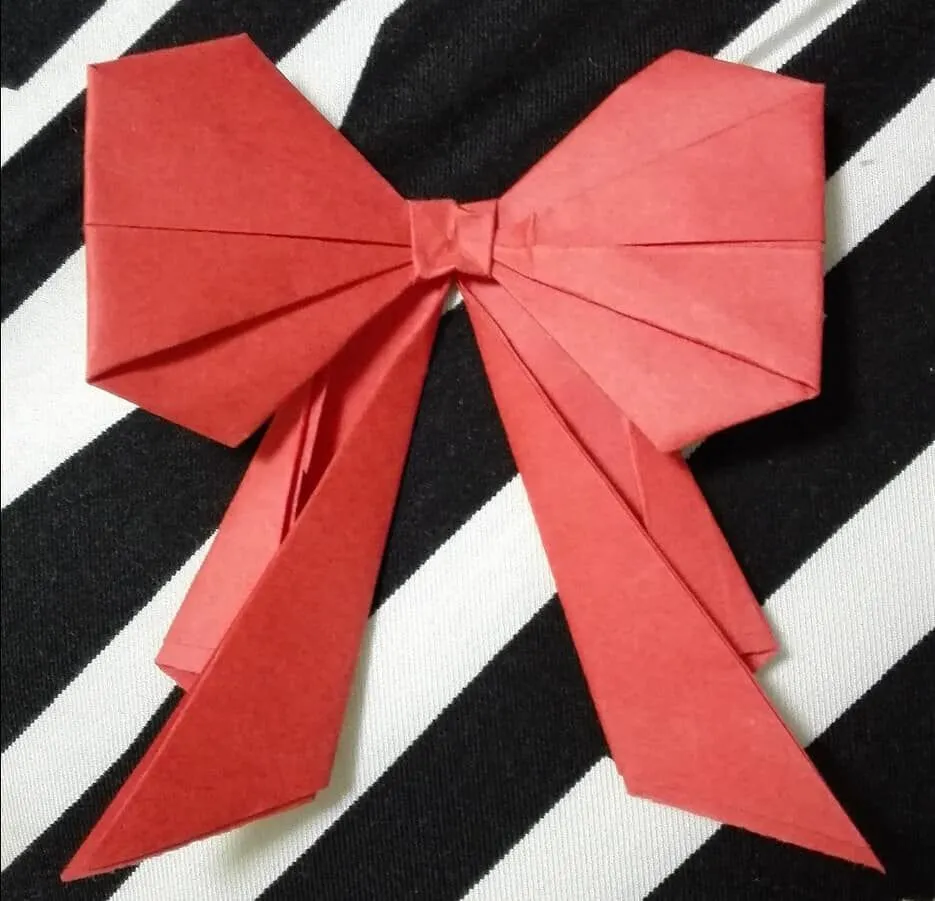
How to Make a Origami Bow Step by Step
Image © Hakase_/iStock.
Origami is the centuries' old art of folding paper, usually attributed to Japan. This cute origami bow is a modern design, so it does use scissors as well as paper.
To make this origami bow, you don't have to use origami paper – any square piece of paper will do. It can take a bit of practice to make this paper bow, but just follow our bow tutorial and you'll be a paper-crafts whizz in no time. Once you know how to make a paper bow, you can use it to spruce up gift wrapping or even as gifts in themselves.
This is an easy origami design. Just follow the origami step by step instructions below and you'll know how to make a bow with paper. Origami instructions are simple if you just take them one at a time.
How To Make An Origami Bow

What you'll need:
A square piece of paper
Scissors
Top Tip: Every time you make a fold, run your fingertip really hard along it to make sure you create a nice, sharp crease. This is the secret of how to make bows look really good.
How To: Origami Bow Instructions

To make an origami bow, take a piece of origami paper (or other square piece of paper). Fold the paper exactly in half. Then open it up and fold it in half the other way.
Next, fold it diagonally so it makes a triangle. Open it again and fold diagonally the other way.
Pull the origami paper gently together by the corners of the paper, so that it collapses against itself. The paper should fold up along the creases to form a four-pointed star. Press flat, without crushing the points, so that you have a square. Turn it so that the point furthest from the bottom opening is facing upwards.
Fold the top of this point down by about 3cm. Press down hard along the crease with your fingertip. When you open the paper you'll now have a small raised square in the middle of your paper.
Refold your paper, including the top fold and, starting at the right side of the flat corner, and taking hold of two layers of paper, turn down a straight fold from the flat corner down to the tip. The fold should be about 3cm deep.
Do the same thing on the left side. Turn your paper over and do the same thing on the other side, so all four sides have one folded-down side.
Gently open your paper up. With the raised little square facing you, use the scissors (ask an adult for help) to cut along each middle crease of the four folds you've just made, cutting as far as, but not into, the edge of the little raised square.
Open the paper up once more. Take hold of the top corner and bring it over the middle to lie exactly on top of the bottom corner. Press flat. You should now have three diamond shapes, one facing downwards and one on each side.
Fold the top of the right-hand diamond over by about 5cm. Press flat. Lift the bottom diamond up over the middle of your origami bow so it's out of the way while you fold up the bottom corner of the right-hand diamond. Press flat. Repeat for the left-hand diamond. This will be your bow.
Now take the scissors (adults can help with this part) and cut up through the middle crease of the bottom diamond, right up to – but not beyond – the edge of the little raised square. This diamond will now be almost cut in half. Fold in the corner of one half so that it almost but not quite meets the cut side. Repeat on the other half. The two halves of this diamond will now look a bit like a tie.
You're nearly there! Fold 3cm in along the cut sides of the diamond and press hard with your finger along the creases.
Turn the bow over and bend each side of your origami bow in half, so the tips are hidden beneath the middle. When you stick your bows on gifts, you can glue them on so the tips are kept in place.
Using the scissors, carefully cut a triangle out of the bottom of each of the dangly ends of your origami bow to make a nice shape.
Now you know how to make a bow out of paper!
How to Make a Origami Bow Step by Step
Source: https://kidadl.com/articles/how-to-make-an-origami-bow-easy-step-by-step-guide
0 Response to "How to Make a Origami Bow Step by Step"
Post a Comment