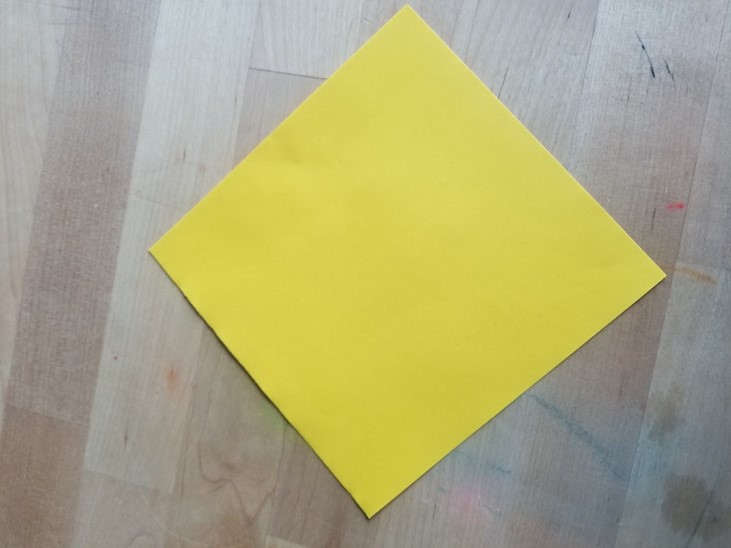
How to Make Origami Heart With Computer Paper
Origami is the art of paper folding. The history of Origami goes back to the Japanese Edo Period (1603-1867). Try making this easy origami heart we have provided paper, but you can also do this with your paper as long as you have a perfect square. The dimension can be 3x3, 6x6, or 12x12. It is said that a paper can only be folded a maximum of 7 times. For a challenge, try making the smallest origami heart possible!
Time required: 5 minutes
Materials:
Paper (any type works as long as you have a square)
Scissors (if your paper is not already pre-cut into a square)
Instructions for an Easy Origami Heart:
- Start with a square piece of origami paper with the right side up. If you only have regular 8.5x11 paper, follow these instructions to make it into a square sheet.

- Fold the paper in half by folding the top corner to the bottom corner, then unfold.

- Fold the left corner to the right corner, then unfold.

- Fold the top corner to the center.

- Fold the bottom corner to the top edge.

- Fold the bottom left and right edges to the center crease.

- Fold the top and side corners back.

- Done!

The paper crane or Orizuru is a classic of Japanese origami. Try your hand at one using the squares provided! For a challenge try to make the smallest paper crane possible by cutting out a small square!
Time required: 7 minutes
Materials:
Paper (any type works as long as you have a square)
Scissors (if your paper is not already pre-cut into a square)
Instructions for an Origami Paper Crane:
- Make a square base. Start by making an origami square base.

- Fold Diagonally. Fold the paper in half diagonally.

- Unfold. There should now be a crease in the paper from the diagonal fold.

- Fold Diagonally Again. Now fold the paper in half diagonally in the other direction.

- Unfold the paper. Your square should now have two diagonal creases, forming an "X."

- Flip the paper over to the other side.

- Fold the paper in half horizontally.

- Unfold to reveal the new crease from the previous fold.

- Fold the paper in half vertically.

- Unfold to reveal the new crease.

- Bring the top point down to the bottom, while also folding the left and right corners down into the center.

- You should now have a diamond shape, with a vertical crease running down the center—this is an origami square base.

- Starting with your square base, make sure the open end is at the bottom. Fold the right lower edge to the central crease.

- Now follow suit with the left side; fold the left lower edge to the central crease.

- Fold the top section down.

- Now unfold the previous three folds.

- Pull one layer up from the bottom, along the creases you just made.

- Push the left and right edges inwards.

- This is called a squash fold—you can see the wing is fully "squashed" into place.

- Flip the model over to the other side.

- Repeat the same steps of the squash fold on this side, starting with the lower right fold to the central crease.

- Now fold the left side to the central crease.

- Fold the top section down (the smaller triangle) to meet the two folds you just made.

- Unfold the last three folds you just made.

- Pull one layer up from the bottom, along the creases you just made.

- Push the left and right edges inwards to complete the second squash fold.

- Fold the lower right edge to the central crease.

- Fold the bottom left corner in the same way, to the crease.

- Flip the model over.

- Now fold the entire right lower corner to meet the central crease.

- Fold the left lower corner to meet the central crease.

- Fold the lower right flap up, under, and out to the right.

- Do the same with the left side (the tail).

- Create a head by flattening the flap, and inside reverse folding a little section down at the top.

- Complete your crane by folding out the wings. Done!


How to Make Origami Heart With Computer Paper
Source: https://arlingtonlibrary.org/news/2020-origami
0 Response to "How to Make Origami Heart With Computer Paper"
Post a Comment